
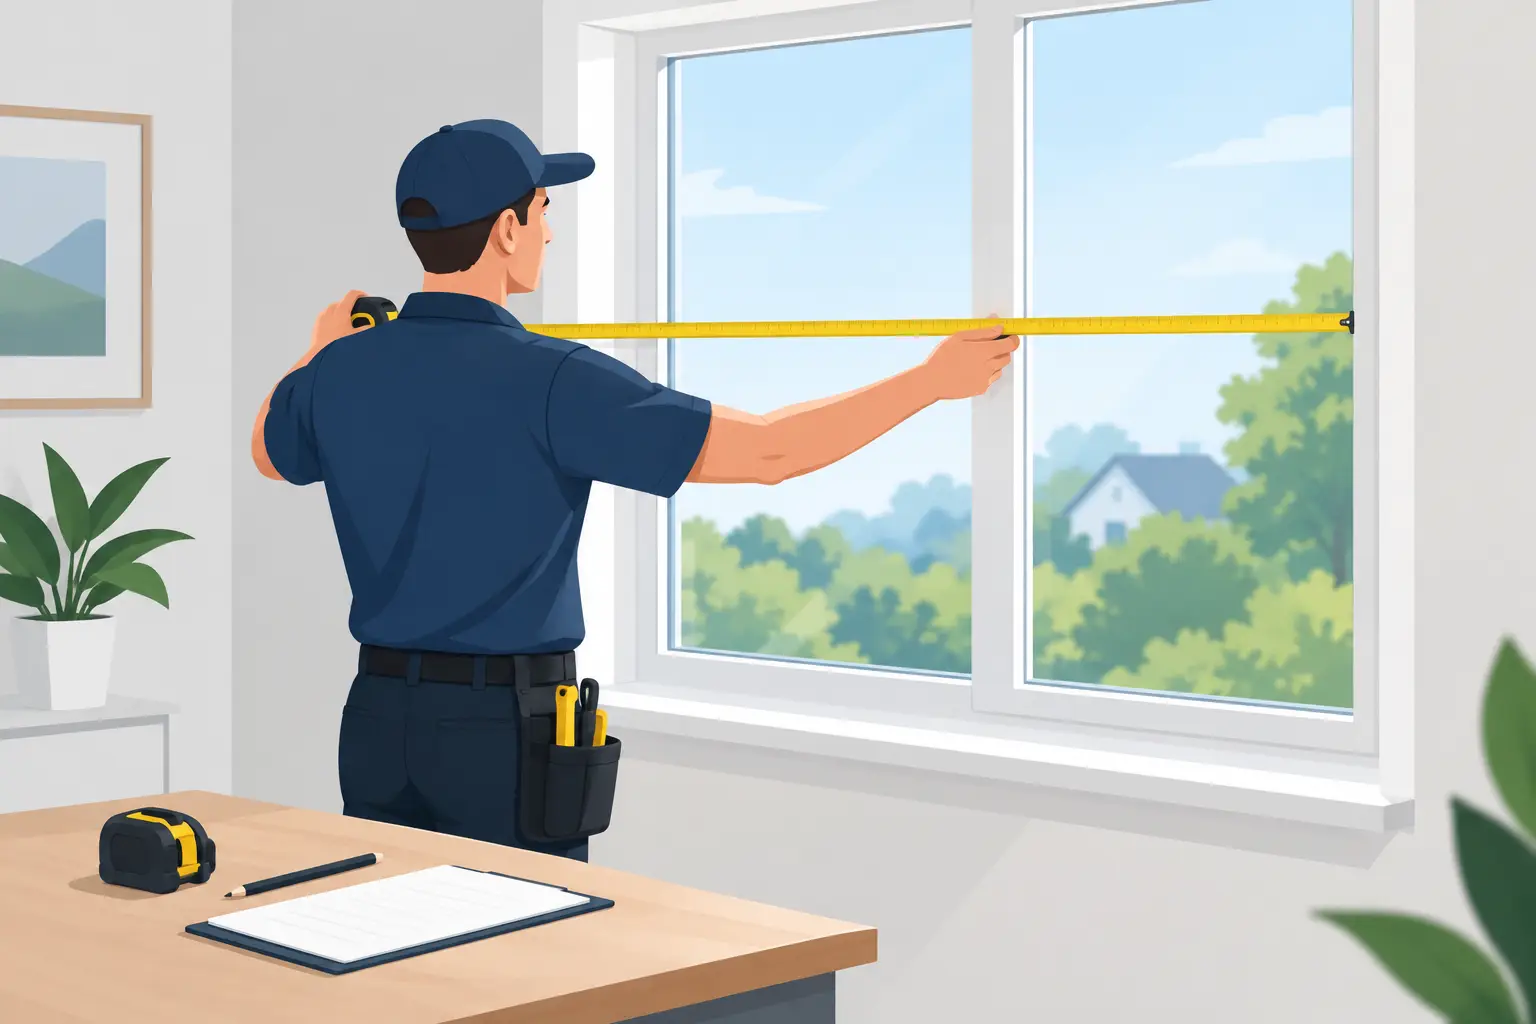
A guide to professional window measuring starts with a simple truth: a window treatment can be beautifully designed and still disappoint if it is measured for the wrong opening, mounted at the wrong height, or ordered without enough clearance. In The Woodlands, where strong sun, large windows, and open-concept homes are common, precise measurements affect much more than appearance. They influence privacy, glare control, insulation, operation, and the lasting quality of the finished room.
For homeowners, measuring may look like a matter of recording width and height. Professional measuring is more thoughtful than that. It accounts for the window itself, the surrounding architecture, the product being considered, and the way your family uses the space.
What Professional Window Measuring Actually Covers
A trained window-treatment consultant does not measure every window the same way. A recessed kitchen window with a crank handle needs a different approach than a wall of patio doors, a bay window, or a bedroom window framed with substantial decorative trim.
The process begins by confirming whether the treatment should be an inside mount or an outside mount. An inside-mounted shade or blind sits within the window opening for a clean, tailored look. It can preserve the visibility of trim and work well when the window has sufficient depth. An outside-mounted treatment is installed above or beyond the opening. It is often the better choice for shallow windows, uneven frames, room-darkening needs, or windows with obstructions.
That decision changes every measurement that follows. Width, height, mounting location, available depth, and clearance around handles or locks all need to be verified before a custom product is specified.
Why Width Is More Than One Number
Window openings are not always perfectly square, particularly in older homes or homes with hand-finished trim. A professional takes width measurements at the top, middle, and bottom of an opening. For an inside mount, the narrowest usable measurement often matters because the product must operate without rubbing the frame.
Outside-mount widths require a different calculation. The treatment must extend beyond the glass enough to improve coverage, but it also needs to respect nearby walls, trim, cabinetry, light switches, and adjacent windows. This is especially relevant for blackout shades and room-darkening solutions. A shade that only covers the glass may still leave noticeable light gaps at the sides.
The right amount of overlap depends on the product and the room. A Roman shade, woven wood shade, cellular shade, or roller shade may each have different bracket requirements and light-control expectations. Professional measuring matches the desired result to the product’s actual construction, rather than relying on a one-size-fits-all rule.
Height Depends on the Mounting Plan
Height is equally specific. For an inside mount, the full opening height is measured in more than one location, since sills and headers can vary. For an outside mount, the installer determines how high the treatment can be placed and how far it should extend below the window.
Mounting higher than the window can make a room feel taller and allow more daylight into the space when the shade is raised. But that only works if there is enough wall area and no crown molding, transom window, or architectural feature in the way. On a patio door, the measurement must also allow for smooth movement and a clean stack when the covering is open.
Depth, Obstacles, and the Details Homeowners Cannot See
Depth is one of the most overlooked parts of window measuring. An inside mount needs adequate depth for brackets and the selected treatment. Some products can be installed in relatively shallow openings, while others require more room to sit flush or operate properly.
A consultant will also look for obstacles inside the opening. Crank handles, alarm sensors, window latches, protruding mullions, and uneven drywall returns can all affect the installation. Even a small obstruction can prevent a shade from lowering evenly or keep shutters from closing correctly.
Trim creates another important consideration. Plantation shutters, drapery hardware, and outside-mounted shades need secure, level mounting surfaces. A window may have beautiful casing, but the casing may not be wide enough for the selected bracket or frame. In those cases, the solution might be a different mount, a different product configuration, or hardware positioned above the trim.
These checks are not meant to complicate the project. They prevent surprises after custom treatments have been ordered and ensure the final installation looks intentional.
Product Type Changes the Measurement Approach
The measurements for a simple roller shade are not the same as those for custom shutters or layered drapery. The product should always be chosen with the window and the homeowner’s goals in mind.
For blinds and shades, the focus is often on opening depth, lift mechanism clearance, and side-to-side coverage. Cellular shades may be chosen for added insulation, while solar shades are frequently specified to reduce glare and UV exposure without giving up an outdoor view. In a sunny Texas living room, the openness factor of a solar shade affects both privacy and visibility, so a sample review at the window is valuable.
For shutters, professionals measure the opening, frame conditions, sill shape, and the location of any divider rails. A divider rail can align with a window’s existing mullion or support independent control of upper and lower louvers. The details create a more balanced appearance, but they must be planned before fabrication.
For drapery and decorative panels, the focus extends beyond the window opening. The width of the wall, ceiling height, return space, stack-back room, and curtain rod placement all influence the result. Panels that are too narrow or a rod mounted too low can make an otherwise lovely fabric look undersized.
Motorized shades introduce another layer of planning. Battery-powered options may require accessible placement for future battery changes. Hardwired systems need coordination with power sources, and smart-home integration calls for a discussion about controls, scenes, and how the household wants to use the room. Precise measuring remains essential, but so does planning the operating experience.
Measuring Large Windows, Doors, and Outdoor Openings
Wide windows and sliding glass doors call for careful attention to proportion and function. A single treatment may be possible, but multiple shades can sometimes provide better operation, less visible deflection, and more flexible light control. The best choice depends on the size of the opening, the product, and whether independent control is more useful than a continuous look.
For sliding doors, the treatment must clear handles and allow the door to operate freely. Vertical-style solutions, panel tracks, and certain shades may be appropriate, but the final selection should support the traffic pattern of the room. A treatment that looks right but interferes with a frequently used patio door will not feel like a good investment.
Outdoor shades and awnings require an equally careful site review. Professionals inspect mounting surfaces, posts, soffits, wind exposure, available power, and the usable space around furniture and doors. The goal may be to reduce afternoon heat, screen insects, protect furnishings from UV rays, or make a patio more comfortable without closing off the view. Each goal can influence the size, fabric, and operation of the system.
Why DIY Measurements Can Create Expensive Gaps
Homeowners are fully capable of taking preliminary dimensions to begin a conversation. The challenge comes when those numbers are used to place a custom order without confirming product deductions, bracket needs, window irregularities, and installation conditions.
Manufacturers may make specific deductions for inside-mounted products so they can fit the opening. If a homeowner subtracts additional width without knowing the product’s specifications, the finished shade can be too narrow. Conversely, an outside-mounted product ordered without appropriate overlap can leave unwanted light gaps and reduce privacy.
Measuring mistakes are not always obvious until installation day. A treatment may technically fit but sit too low, crowd the trim, block a handle, or fail to cover the view at the angle where privacy matters most. Professional measuring is a way to protect the investment in custom materials and make the experience easier from the beginning.
What to Expect During an In-Home Measurement Appointment
A well-run appointment should feel practical, not overwhelming. Your consultant will ask how you use each room, where sunlight is strongest, when privacy matters, and whether child safety, insulation, or smart-home control is a priority. They will review samples in your home’s actual light, because colors, textures, and opacity can look very different than they do in a showroom.
Then comes the technical work: confirming openings, mount locations, depth, trim, obstructions, and installation surfaces. If a choice involves a trade-off, such as preserving a view versus maximizing daytime privacy, you should receive clear guidance rather than a rushed recommendation.
Made in the Shade Woodlands brings this process directly to local homeowners with a free in-home consultation, curated samples, professional measurement, and installation coordination. It truly could not be easier to make a confident choice when the person measuring also understands how the finished treatment will look and function.
The best window treatments rarely call attention to the measuring behind them. They simply fit, operate smoothly, manage the light you want to manage, and make the room feel finished. That quiet confidence is what professional measurement is designed to deliver.

